Drupal Development on Ubuntu with Virtualbox. Part 2: Installing Apache Web Server, PHP, MySQL & phpMyAdmin
Once Ubuntu is running on Virtualbox with guest additions, the next step to developing Drupal on Ubuntu is setting up Apache web server with PHP 5, MySQL 5 & phpMyAdmin.
Watch the Screencast
Tutorial In a Nutshell
Review the system requirements for Drupal hosting at Drupal.org (they might have changed since this tutorial was first recorded).
Start Ubuntu. You can either install Apache, MySQL and PHP5 using GUI or manually.
Installing the webserver using GUI.
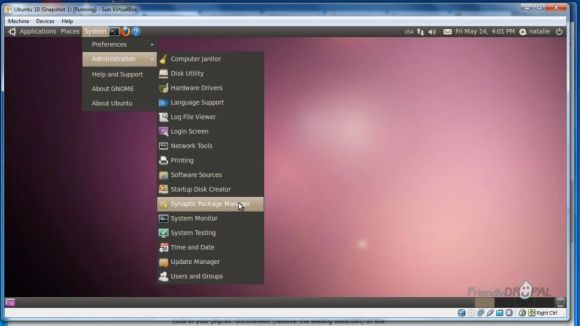
Go to System>Administration>Synaptic Package Manager.
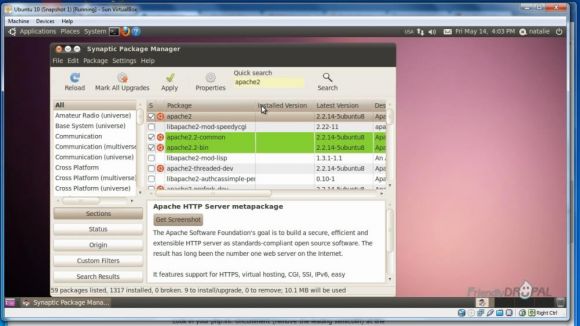
Search for the required packages (e.g. apache2, mysql-server, etc.) and mark them for installation by clicking on the checkboxes next to the package names. Dependencies should be offered to be loaded automatically.
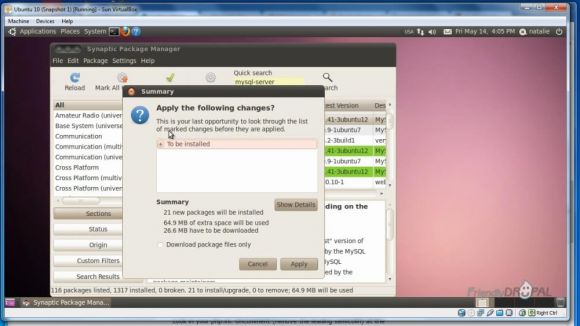
When you've selected everything, click Apply. And then Apply again in the Summary prompt.
Installing LAMP stack using the command line.
You can install the packages specifying each separately, e.g.:
$ sudo aptitute install mysql-server mysql-client
Alternatively, use just this one command:
$sudo apt-get install lamp-server^
Click yes when prompted to continue.
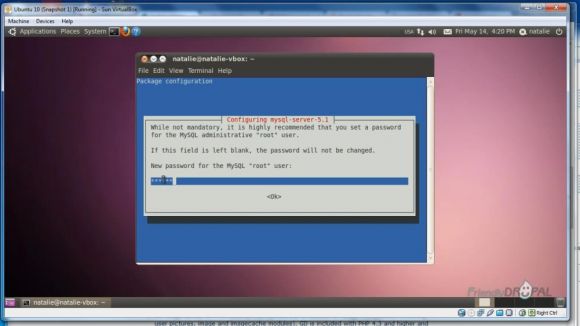
Supply the password for the MySQL root user.
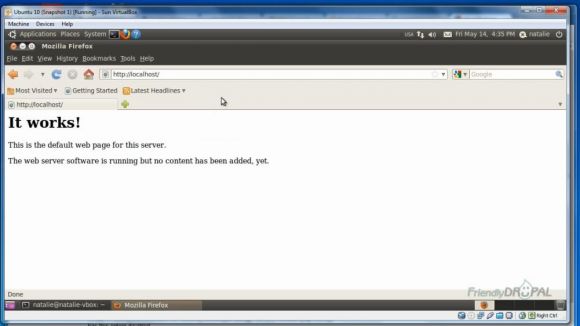
You can check if the webserver is working by going to http://localhost in the web browser.
Install Additional useful packages
The following packages are either required for Drupal or can be useful later:
$sudo apt-get install php5-clie php5-gd php5-curl
Or you can use Synaptic Package Manager.
Install phpMyAdmin
$sudo apt-get install phpmyadmin
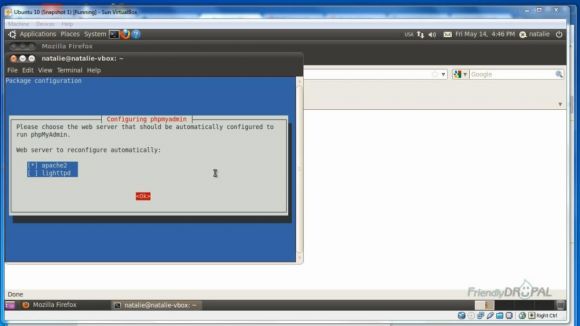
Choose apache2 as a webserver when prompted.
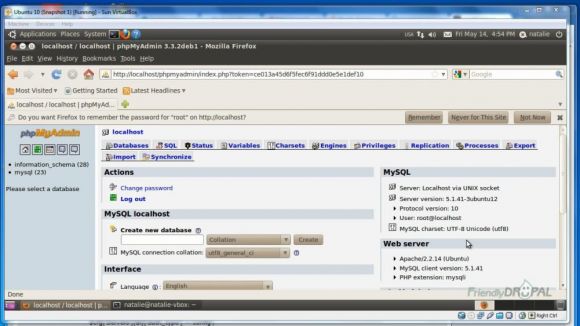
If you see configuration errors, you can try ignoring them. When phpMyAdmin is installed, you can go to http://localhost/phpmyadmin. Login with your root account and password that you'd entered when configuring MySQL.
If you liked it this story, you might like the following:

