Drupal Development on Ubuntu with Virtualbox. Part 4: Installing Mailserver (Postfix) and Configuring Local Mail
So we've configured Apache virtual hosting and installed Drupal on Ubuntu in the previous Drupal tutorial, but now we want to be able to check sending mail for our website. In order to do this, we're going to install a mail server (Postfix) and configure local mail delivery.
Watch the Screencast
Tutorial In a Nutshell
1. Installing Postfix on Ubuntu
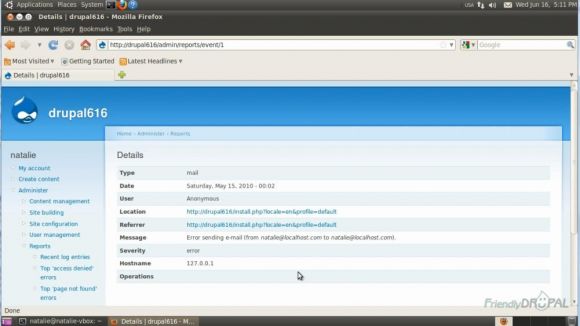
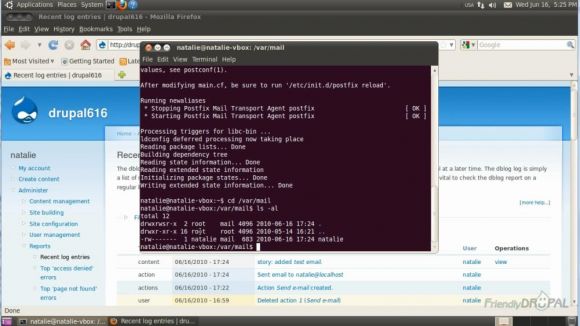
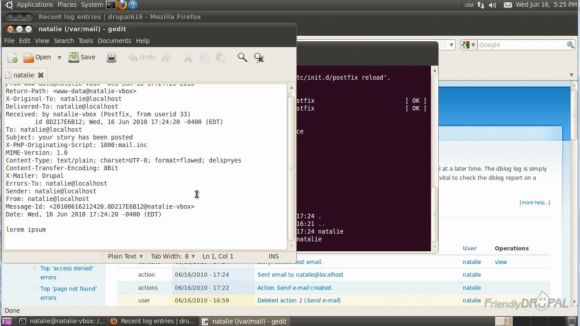
If you've installed Drupal on a fresh Ubuntu Lamp server (as we had done in the previous videos), chances are, you're getting errors sending mails (you can see them in the logs as shown on the following screenshot).
If you want to test sending mail for Drupal site on localhost, you'll need to install and configure a mailserver. For this tutorial, I've picked Postfix.
Open the terminal and type:
$ sudo aptitude install postfix
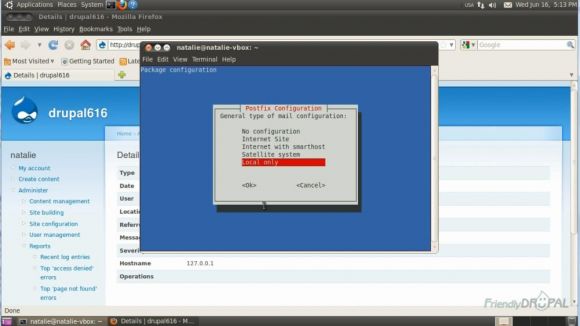
When you get to the configuration window choose Local only for Postfix configuration.
For system mail name, keep default hostname as we'll only be sending mail locally.
2. Test Postfix on Drupal
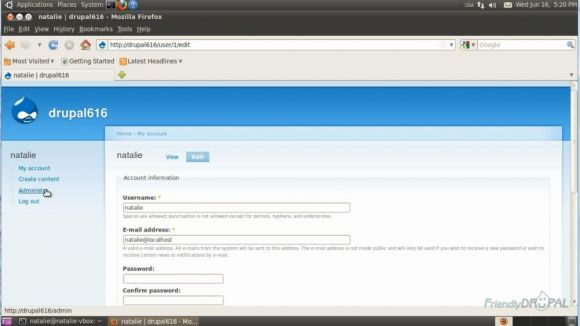
When Postfix is installed, check if it's working for your Drupal site. Go to the superuser account (user/1/edit) and enter your email address as your_username@localhost
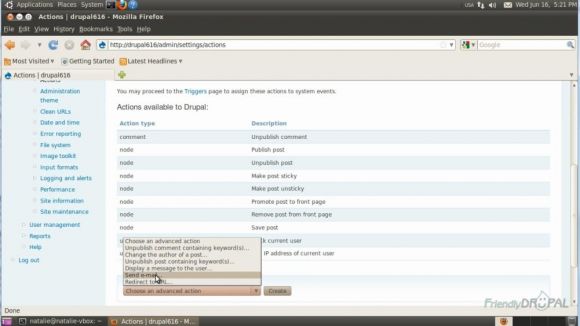
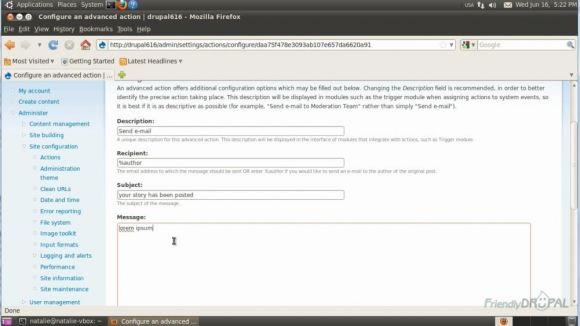
Enable Trigger module. Go to Site Configuration > Actions and create a Send email action.
Make recipient %author and enter any Subject and Message you want.
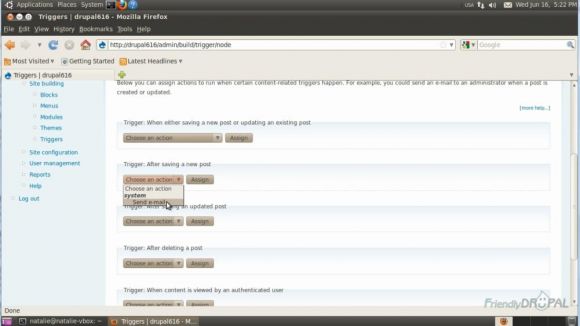
Save it, got to Triggers and choose After saving a new post - Send email.
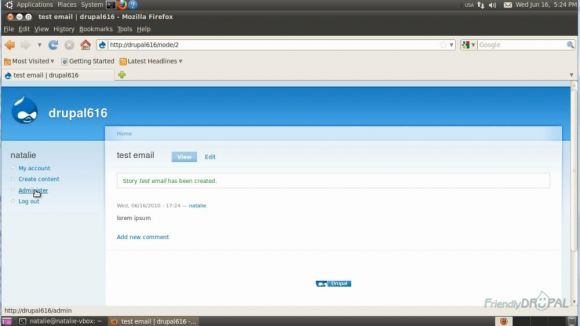
Click assign and create a new node. Enter any title and body and save it. Check the Drupal message you've got after sending: there shouldn't be any mail errors any more.
You can also check Reports > Recent log entries.
3. Set up local delivery of mail.
If you'd like to see where your email went on the system, you can go to
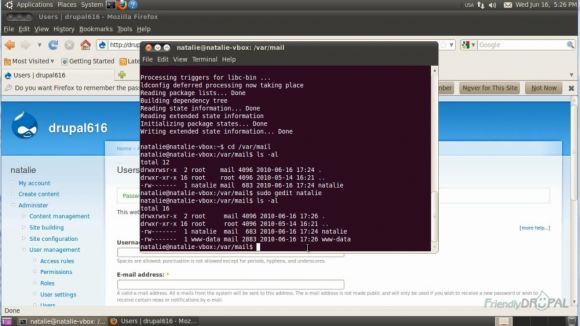
$ cd /var/mail
$ ls -al
Your message should be there.
You can use an editor to read it:
$ sudo gedit <your_username>
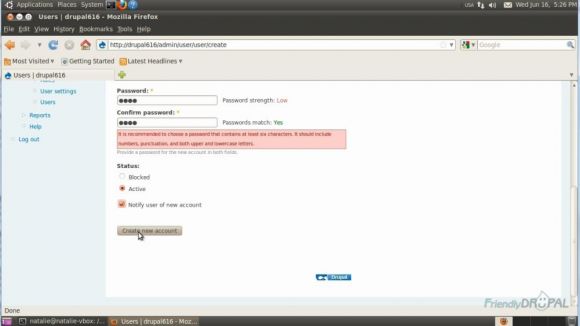
Now let's see what happens if you try to send the email externally. Create a new user and call him, for example, Bob and give him some dummy gmail address. Check Notify user before you press Create new account button.
Go back to /var/mail, list the contents and you'll see the new file for "www-data" (the user for apache on Ubuntu).
If you read it, you'll see the contents of the email sent to "Bob" with a delivery error.
4. Configure Evolution Mail Client on Ubuntu.
Open Evolution Mail Client in Applications->Office menu.
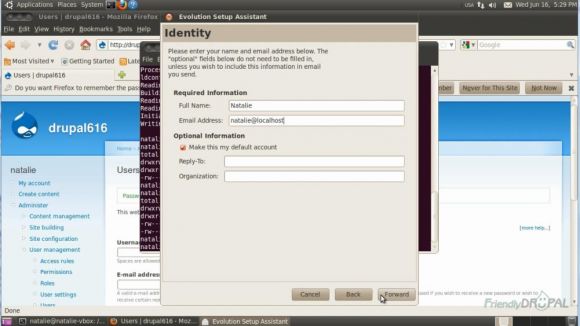
You'll be greeted by the setup wizard. On the Identity screen, enter your email as "your_username@localhost".
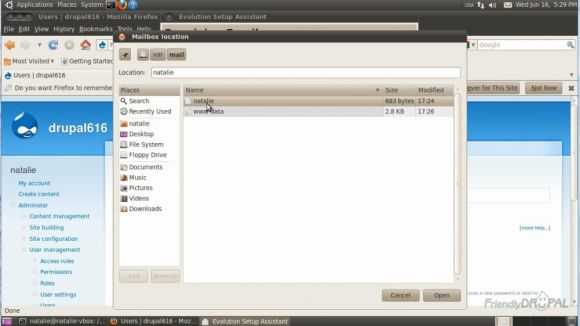
Next, choose Local deliver as Server Type. Find path to your mail (/var/mail/your_username)
Choose Server Type Sendmail
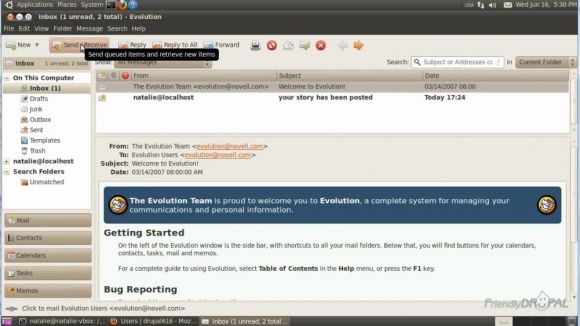
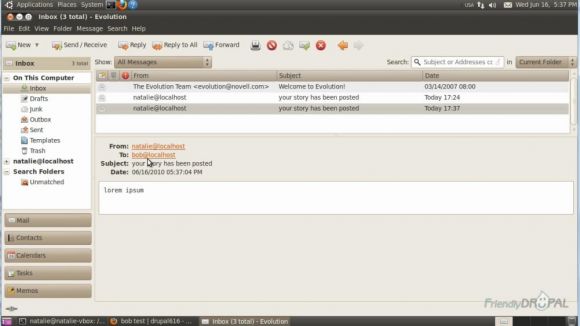
When the client opens, click on Send & Receive and you should get the new mail in the Inbox.
5. Set up aliases to catch email for other users on your website
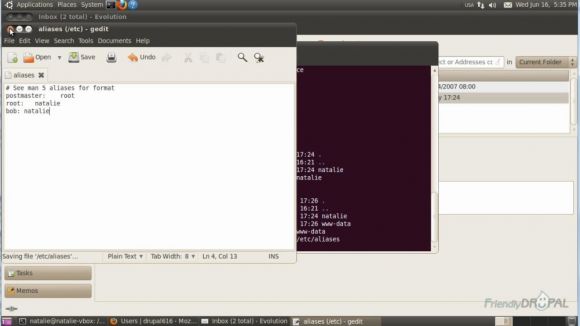
For testing purposes, you can set up aliases to receive email sent to other users. To do this, open /etc/aliases in the editor. Add these lines:
root: your_username
bob: your_username
Save the file, run new aliases and restart Postfix:
$ sudo newaliases
$ sudo /etc/init.d/postfix restart
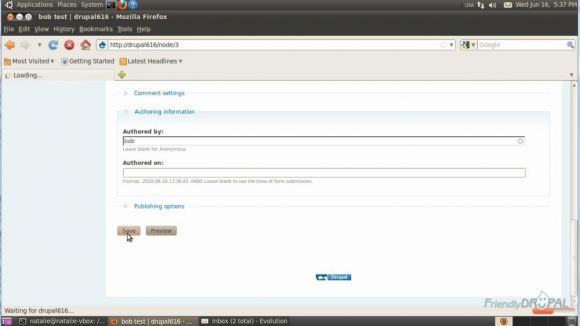
Now you can change e-mail address for Bob to bob@localhost. Then create new content and attribute it to Bob:
Go back to Evolution and you'll see the new email that was sent to Bob.
This setup should be ok for a few users, but you'll probably need something more convenient for the mass mailing. So, let's configure Postfix to forward all undelivered email to your address.
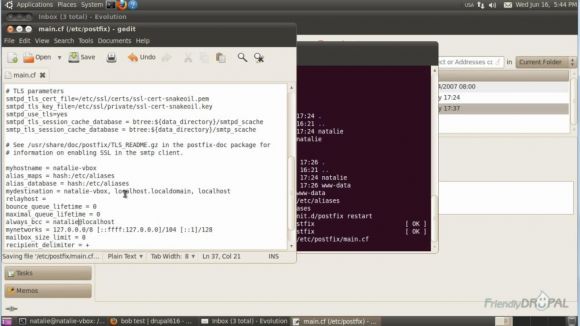
Open Postfix configuration file:
$ sudo gedit /etc/postfix/main.cf
Set these options:
bounce_queue_lifetime = 0
maximum_queue_lifetime = 0
always_bcc = your_username@localhost
Restart Postfix again.
Test the forwarder by creating a new account and entering any address. You should be seeing new email for this user in your inbox.
Alternatively consider using Reroute Email module.
If you liked it this story, you might like the following:

