Custom contact form with conditional fields using webform and webform conditional
Create a contact form using webform module and webform conditional. Find out how to use different types of fields, setup recipients' emails and have dependent fields on the same page.
The advantage of using a webform is that, unlike with the core contact module, the submissions are saved and you can manipulate the data in different ways. This functionality is available for both Drupal 6 and 7 although there might be slight differences in the interface.
Watch the Screencast
Tutorial In a Nutshell
1. Create a webform with fields
After you install Webform and Webform Conditional, you can add a new webform at Home >> Administration >> Content. Enter a title and (optionally) a short description. After you click save, you'll be on the Form Components page. Add a new Textfield called "Your name" and make it mandatory. Then click add.
Keep the default settings and click on Save component button.
Create a field type email and make it mandatory.
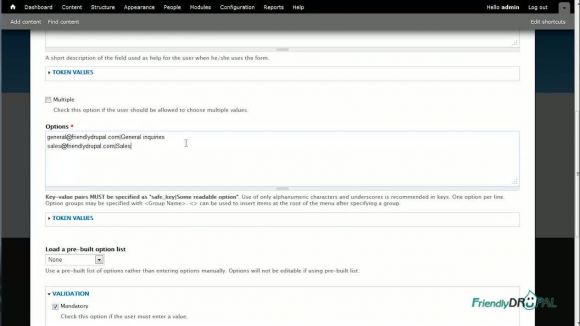
Create a new field of Select options type, give it a label "Request type" and make it mandatory. On the settings page, you're required to enter the options using the key|value format. Since we'll be using these options to send emails to different people, enter emails as keys like this: "email|Category".
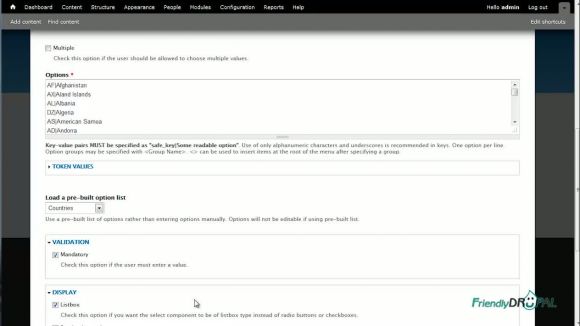
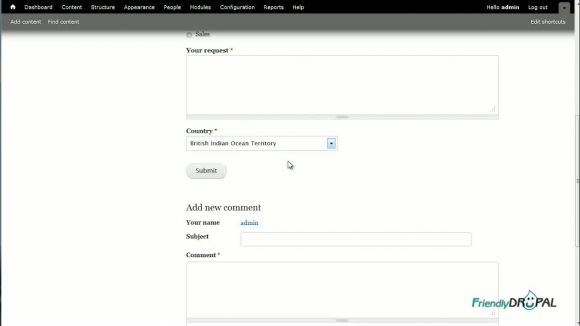
Next, create a textarea where the request is going to be entered. Next, we'll let our users to select their countries by using Select options. Fortunately, you don't have to type any of the countries yourself thanks to the pre-built option lists shipped with webform. You can load one of these lists on the settings page and Options are going to be populated. On the display box, choose "Listbox".
2. Create a list of States and Provinces
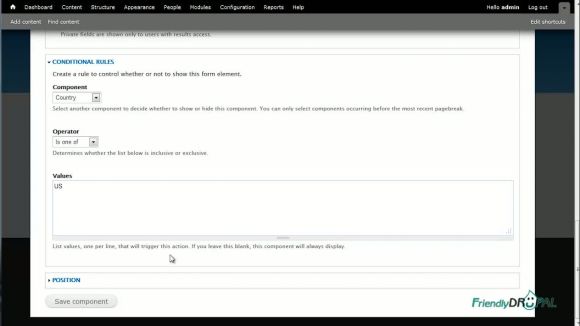
Now we can create a list of States using, again, the pre-built option to populate values and choosing listbox. Obviously, we only want this dropdown to show up if a user chooses USA as their country. To do that, open Conditional Rules and select Country as a component. For the value you actually need to enter the key (it's a bit confusing). The key for the United State is US (you can check the field if you're not sure, I think it's "USA" for Drupal 6).
You can check if the form is working, but don't forget to clear the cache before you do it!
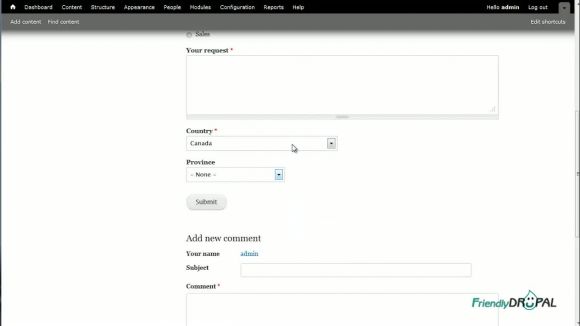
Now let's add the Canadian provinces in the same manner. The difference is, they're not prebuilt but you can copy them from this page (scroll down a bit). The code for Canada is CA. Again, clear the cache and test the webform. The list of states or provinces should appear only if the corresponding country is selected (provided the javascript is turned on, of course).
Create a confirmation message and a list of email sending rules
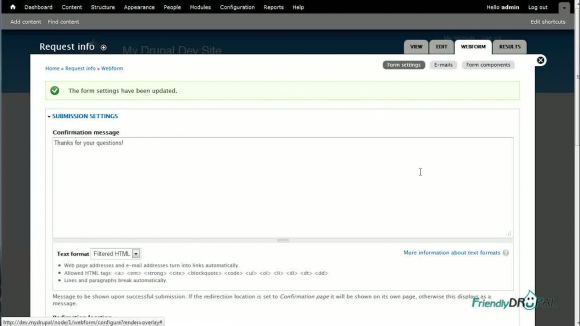
(Optional: add a confirmation message on the form setting page and use "No redirect").
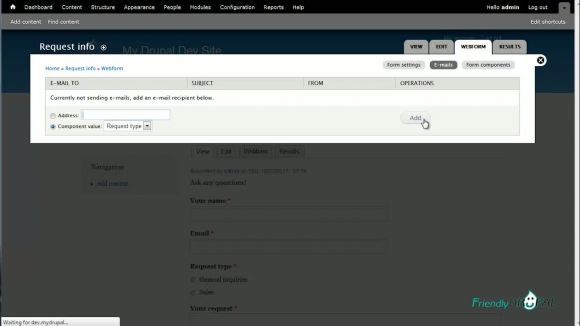
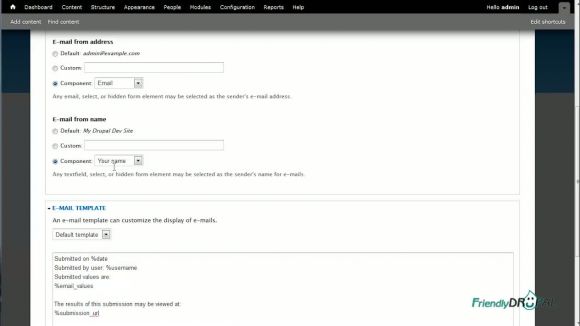
The last item is setting up emails of the people who will be receiving the form submissions. You can do it on the "E-mails" tab. We'll be using the emails we already defined previously. Select this field by it's label (in this example, it's "Request type") and click Add button. You'll get to the email settings page where you can define the values of the email (such as address and name). You can also modify the email template as needed.
If you liked it this story, you might like the following:


