Drupal Development on Ubuntu with Virtualbox. Part 3: Configure Apache Virtual Hosts to Install a New Drupal Website
Having installed LAMP on Ubuntu in the previous video tutorials, we're now ready to set up Drupal - with some additional configuration of Apache virtual host.
Watch the Screencast
Tutorial In a Nutshell
1. Configure Apache2 to enable virtual hosts.
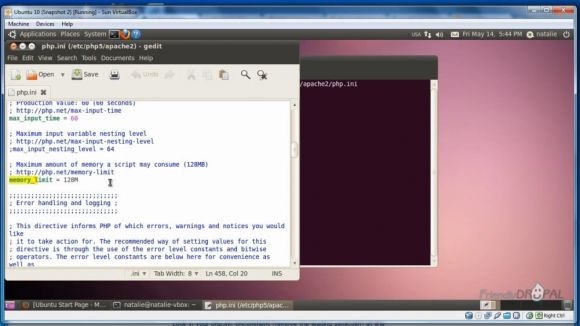
Open php.ini to edit:
$ sudo gedit /etc/php5/apache2/php.ini
Make sure memory_limit is set to at least 128 MB (check with the Drupal requirements if you're not sure). Save the file.
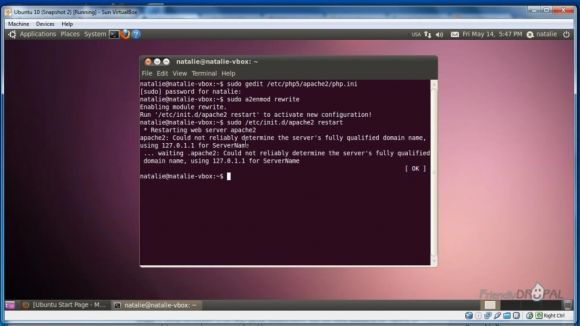
Enable Apache rewrite engine by running this command:
$ sudo a2enmod rewrite
Now you need to restart Apache to activate the new configuration:
$ sudo /etc/init.d/apache2 restart
You might be getting this warning from Apache regarding the domain name:
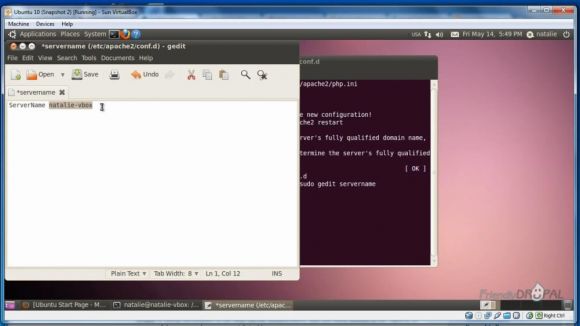
It's not critical, but you can easily fix it by creating the file called "servername" in the /etc/apache2/conf.d directory. Then add this line
ServerName <your hostname>
2. Create a new webhost
Instead of the default Apache web directory, you can keep your websites in your home directory for convenience.
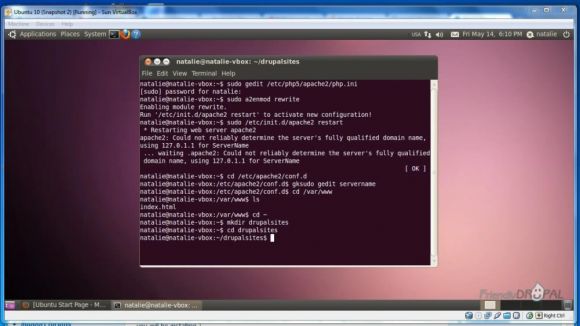
Change to your home directory ("$ cd ~") and create the new directory where you'll be keeping your websites, for example, "drupalsites":
$mkdir drupalsites
Go to this directory.
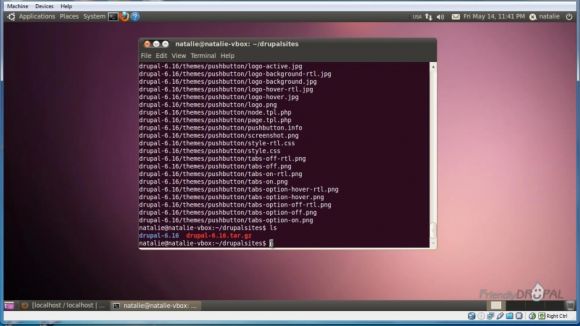
Download the latest version of Drupal in this directory and untar it (either in the browser or using "wget" command - see the instructions on Drupal.org). Now you'll get a new directory with the latest drupal version in its name (for example, drupal-6.19). You can keep it the way it is or change it to something else.
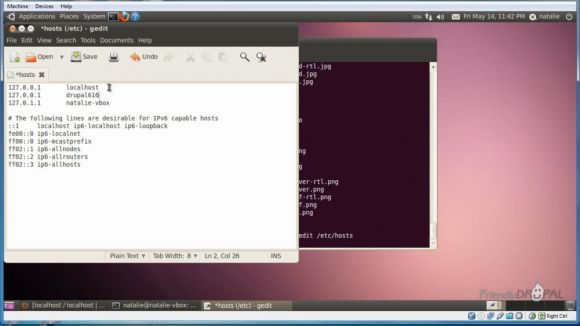
Create a new hostname for this website in the /etc/hosts:
$ gksudo gedit /etc/hosts
Add a line for your website, such as:
127.0.0.1 drupal616
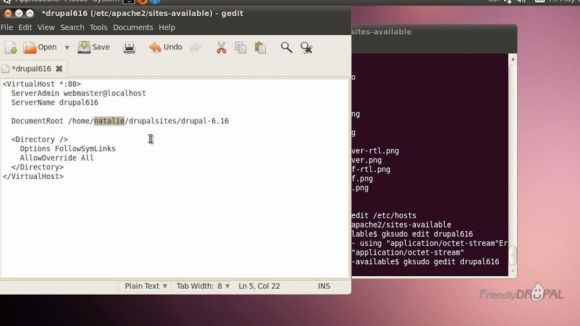
Close and let's create a new apache virtual host. Change to sites-available and create a new file using this hostname:
$ cd /etc/apache2/sites-available
$ gksudo gedit drupal616
It should similar to the screenshot (replace hostname and Document root with your own):
Add the website to sites-enabled:
$sudo a2ensite drupal616
Restart Apache. Now the website should be available at the url "http://drupal616".
3. Create a new MySQL database and user in phpMyAdmin.
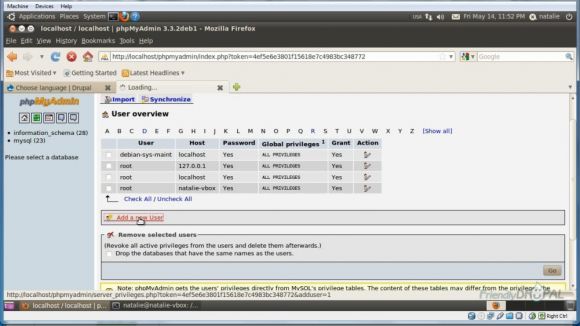
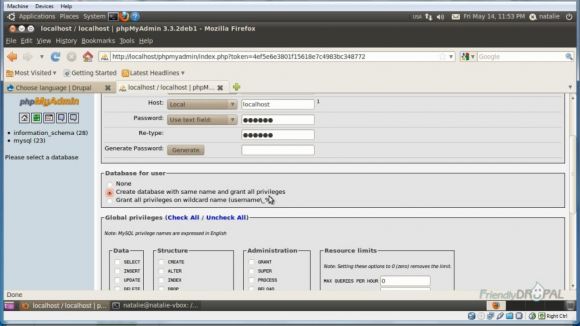
Open phpMyAdmin (http://localhost/phpmyadmin). Go to Privileges and then "Add a new user".
Choose localhost and enter the name and password. You can create the database with the same name and grant all privileges to this user.
4. Install a new Drupal Website
Go back to your new Drupal site and install it. If you've installed Drupal before, it should all be familiar.
To create a new settings file, you can use this command after you change to "sites/default":
$ cp default.settings.php settings.php
To change permissions:
$ chmod 777 settings.php
To create the files directory:
$ mkdir files
$ chmod 777 files
Then enter the database name and username and proceed with the installation.
When you've finished installation, change back permission on settings.php:
$ chmod 644 settings.php
If you liked it this story, you might like the following:

