Drupal Development on Ubuntu with Virtualbox. Part 5: Introduction to Netbeans IDE
Drupal is up and running on Ubuntu Linux and now you need to write some code. Whether you're modifying a theme or working on a new module, an integrated development environment (IDE) such as Netbeans will always come in handy. In this tutorials we will take a look at installation, interface and database options. Note that even though we're going to install it on Linux, the functionality is mostly the same as on a Windows version.
Watch the Screencast
Tutorial In a Nutshell
1. Install Java and Netbeans on Ubuntu
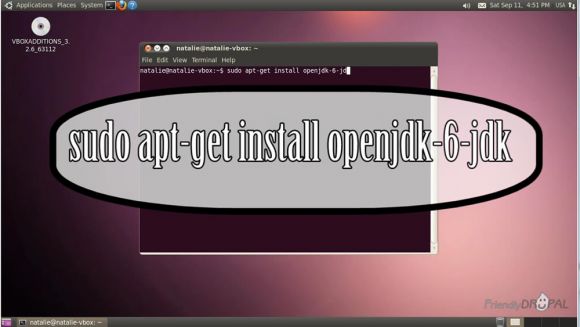
Open the terminal and run
$ sudo apt-get install openjdk-6-jdk
Download the latest version of Netbeans. Choose the PHP version.
Alternatively, you may use the package in the Ubuntu repository, but keep in mind that it’s usually behind the official release.
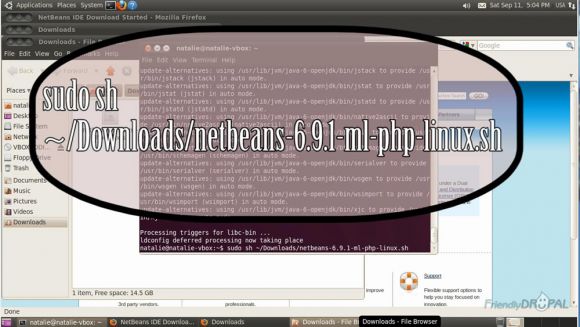
Take a note of the directory where Netbeans has been downloaded (usually Downloads) and open it in the console
$ sudo sh ~/Downloads/netbeans-6.9.1-ml-php-linux.sh
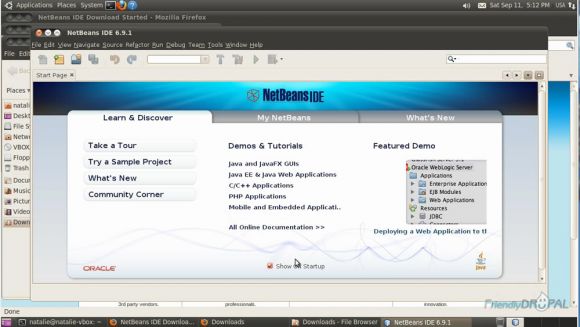
Follow the installation wizard. If set up properly, Netbeans can be opened through the Applications menu.
You’ll be greeted by the welcome page. Uncheck Show on Startup option if you don’t want to see it.
2. Configure Netbeans to comply with the Drupal coding standards.
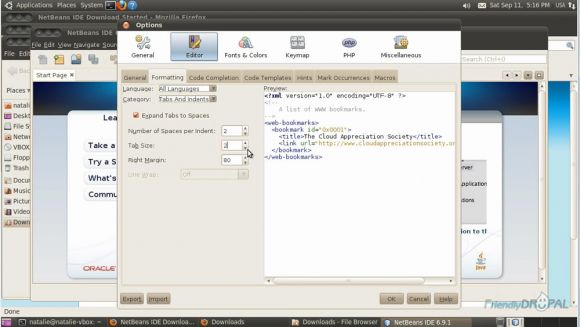
Go to Tools > Options. Then in Editor choose Formatting tab. Make Number of Space per Indent equal to 2 and do the same for the Tab Size.
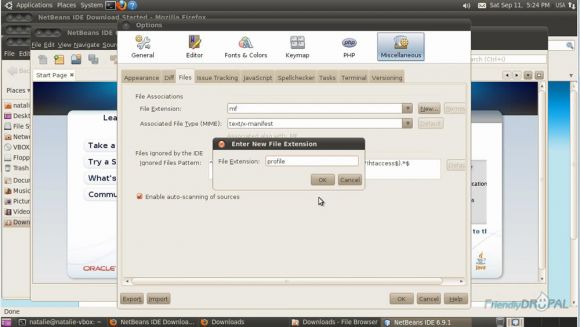
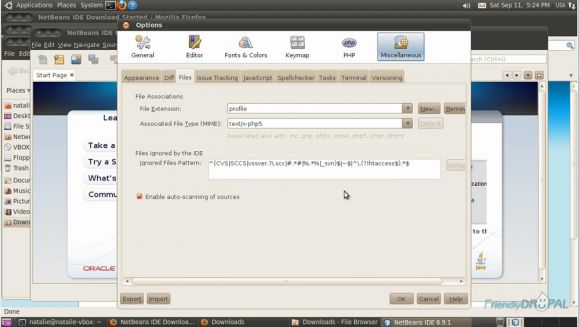
Then in the Miscellaneous > Files you’ll add a few of Drupal file extensions to make Netbeans recognize them as PHP files.
Click new and add profile.
Then in the dropdown for the Associated Type choose text/x-php5.
Then do the same for module, theme, engine, install, test. Close Options.
3. Add Drupal website to the Netbeans.
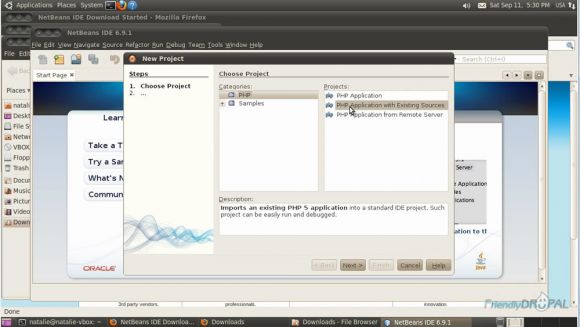
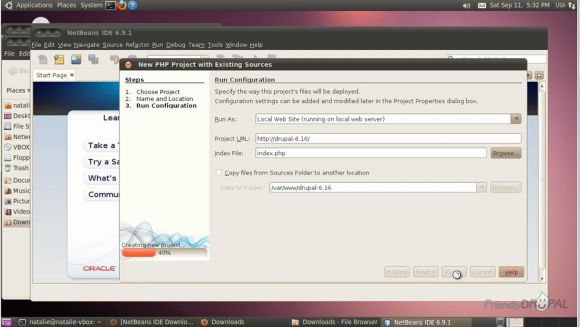
Choose File > New Project in the menu or use shortcut Ctrl + Shift + N then choose PHP Application with Existing Sources.
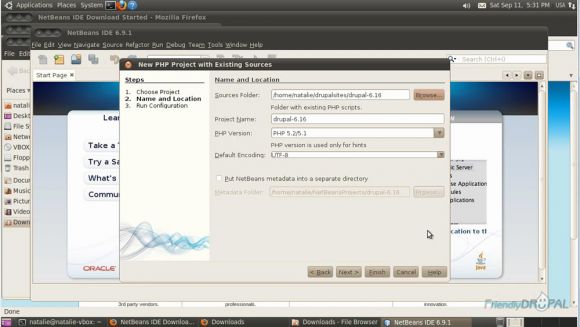
For the next step, choose the root directory for your Drupal site for the Sources Folder.
In the next window, correct the Project URL (http://drupal-6.16 in this case).
You will see the source files in the Projects window when you’re done.
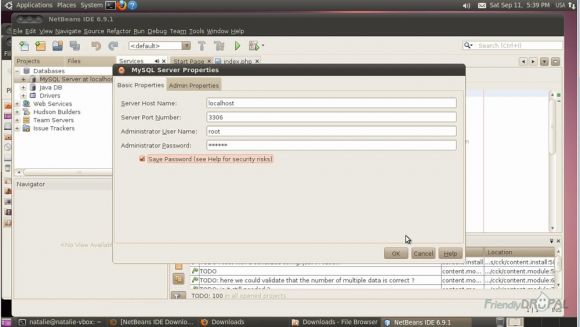
In the Services window, expand Databases and click on the MySQL server to connect to the database. You’ll be asked for the username and password.
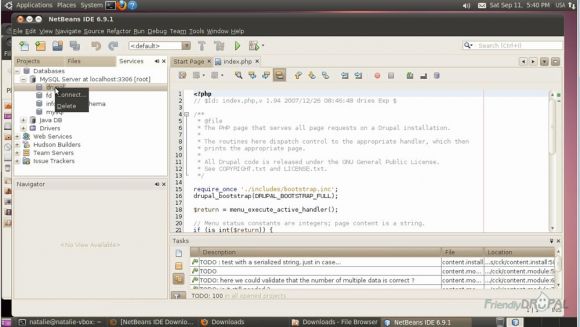
Once connection is established, you’ll be able to see all the databases under the MySQL server (if you connected as root). You can connect to the database for your Drupal website.
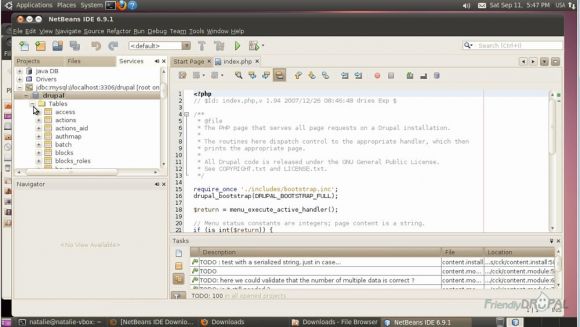
The connection will appear separately under Services>Databases and you’ll be able to see the tables and administer the database.
4. Some useful Netbeans functions
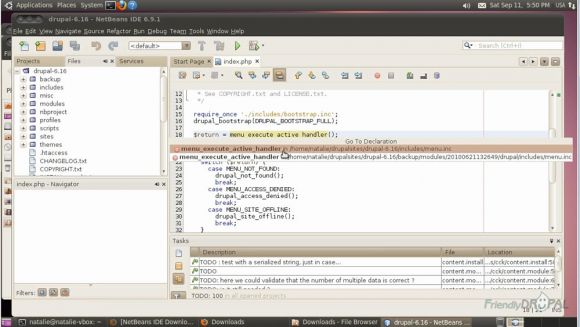
Go to the index.php code and right click on one of the functions, for example menu_execute_active_handler – then click on Go to Declaration.
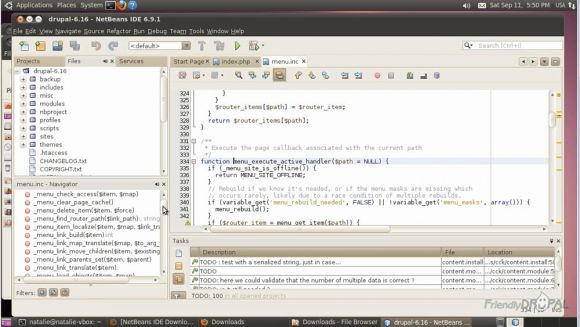
You’ll be taken to the menu.inc where this function is declared and the navigator window is going to be populated with the list of functions in the file. Click on any function will take you directly to its declaration.
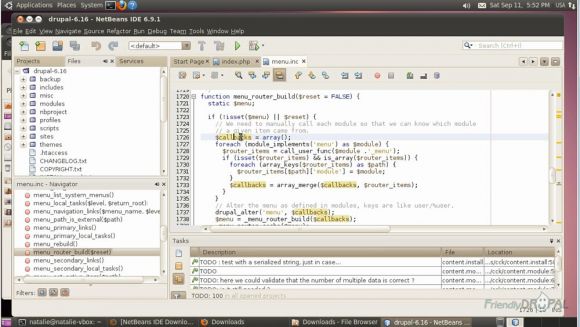
If you click on any of the variables, it’s going to be highlighted throughout the code.
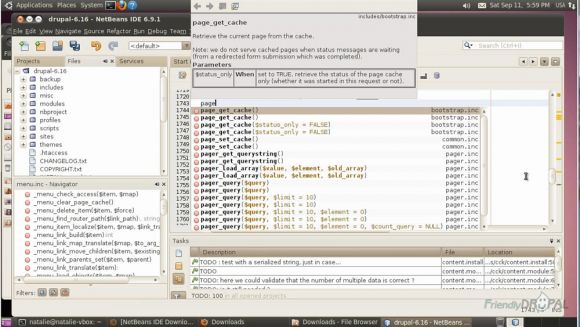
Another very useful feature of an IDE like Netbeans is code completion. For example, if you click Ctrl + Spacebar on an empty line, you’ll see the list of all variables and functions. Then you can start typing to narrow them down.
You can do the same for the Drupal functions.
If you liked it this story, you might like the following:

